Do you need a place to store your Member Handbook, Choir Guidelines, or Dress Requirements? Or perhaps you need a place to keep your meeting minutes for archival purposes.
The documents area is a great place for all of these items and more!
Organizing and Storing Documents
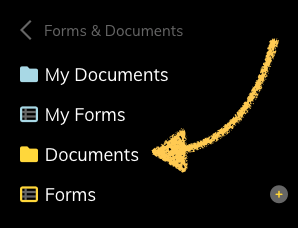
Admins and Managers can view all Document items by going to:
Forms & Documents > Documents
This is the yellow menu item.
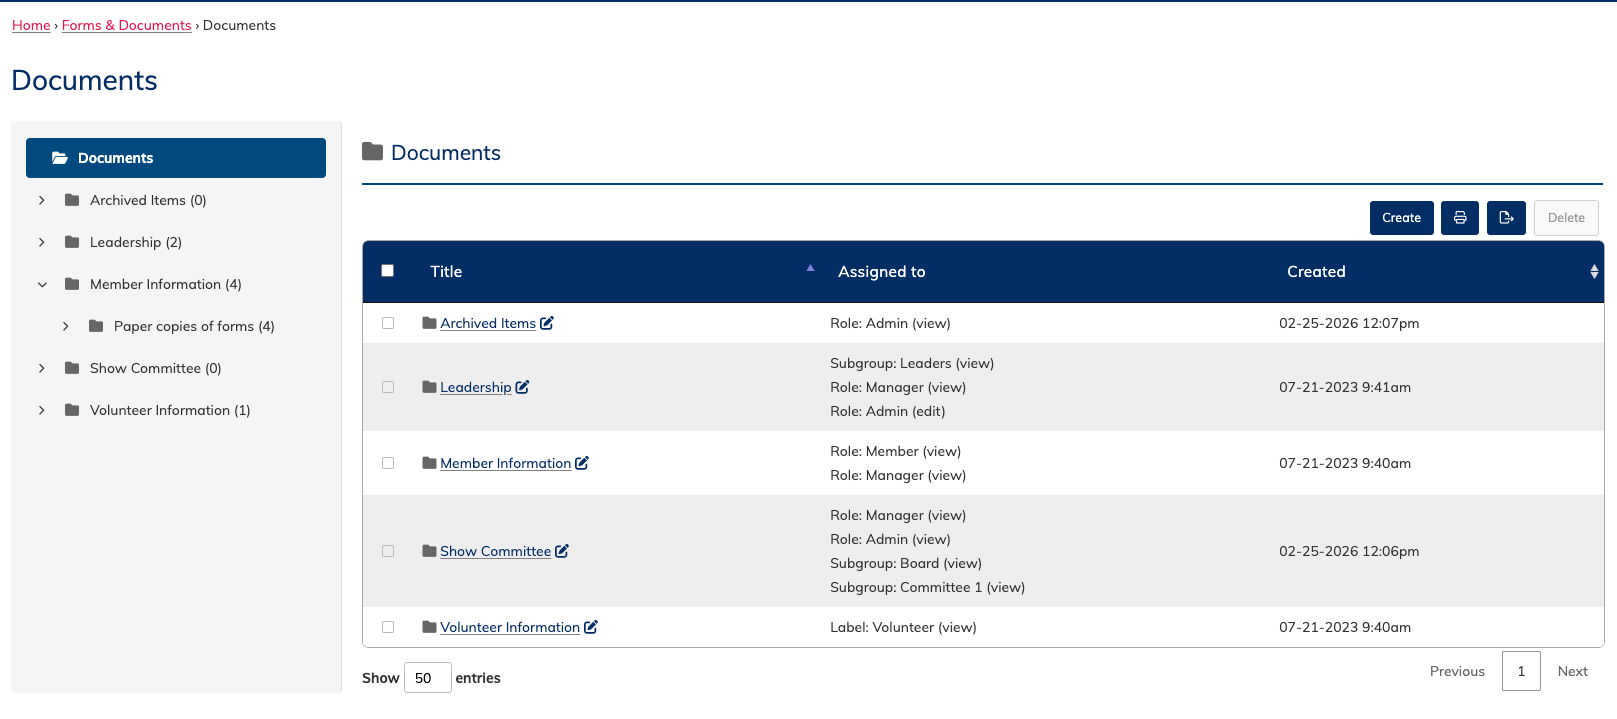
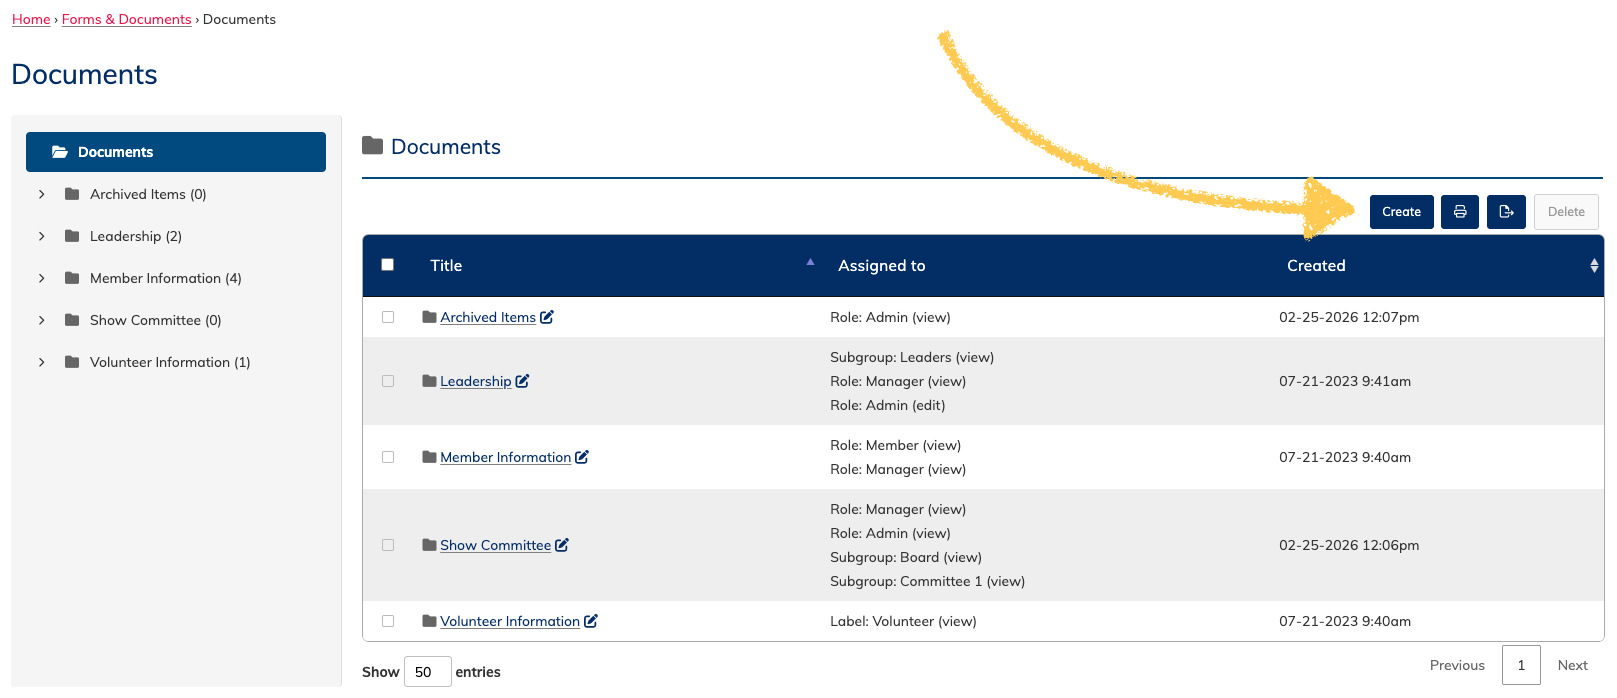
Here you will see a table like the one below, with your document items, along with a create button. Click the folders along the edge or in the window to navigate through them and see the files and folders inside.
If you select a document, you will also be able to use the delete button.
.png)
The types of "documents" that can be stored
The documents area allows you to store and organize a variety of items. When you create a new document item, you will be able to choose from the following types:
- Folder - Making a document this types allows you to use it to store other document items inside of it, just like your folder system on your computer. Folders have a title, and can have a short blurb of notes. Folders can also be assigned to people, so that everything within that folder is visible to them. You can place folders within a folder, as well.
- Document - This is your standard "document" type. It has a title, a notes section, and then a large text area where you can type information. It can also have attachments that will appear below the text area when viewing the document. It can be assigned to users for viewing and/or editing, and can be placed within a folder.
When you upload an attachment, you can then click to "insert" a hyperlink into a text field to have it appear in the body text area. First, upload your attachment, then click into the body text area, placing your cursor where you want to attachment to appear. Then click the insert button next to your attachment. A hyperlink for the item will automatically be written for you.
Images will appear within text, and files, like pdfs, will be a download link.
You can always edit the visible text for a download link - it's the text that appears between the two tags > <
- Files - This is a document item that functions as a place to store multiple files under one heading. It has a title, a small notes area, and then an area to upload multiple attachments. There are also settings options for how those attachments will display by default (alphabetical or date, list or with icons). It can be assigned to users for viewing and/or editing, and it can be placed within a folder.
- External Document - this type of document lets you create an automatic link to a page that exists elsewhere. This might be a link to a google doc, a drive folder, or even a different page. When the document title is listed, clicking it will take the user directly to that url link. External documents have a title, a small notes area (visible on the edit page only), and a URL field to enter the link. External documents can be placed in folders, and they can be assigned to users for viewing and/or editing.
Add a document
Admins and Managers can navigate to:
Forms & Documents > Documents to create new document items by clicking on the "Create" button.
Edit a document
Admins and Managers will see an edit pencil icon next to every name of a document item. They can click this pencil to be taken to the edit view for that document.
Admins and Managers can view and edit every document, regardless of assignment, via the Manage Documents (yellow Documents menu item) page.
Users with "edit" assignments will see an edit pencil next to the title of the particular document item they are assigned.
Delete a document
Documents can be deleted by going to the "edit" view for the item, and then clicking the "delete" button.
Admins and Managers can also delete documents using the checkboxes and the "delete" button on the Documents page.
Assigning documents
Documents can be assigned to users at the individual level, and also at the folder level.
If a folder is assigned to a set of users, all items within that folder will be visible, regardless of the individual assignments.
If an item is assigned to a set, but placed within a folder that is not assigned to them, they will not see it.
Here is the simplified rule for document assignment:
- Document items within folders will use the folder's assignment settings.
Document items not in folders should be assigned individually.
Accessing / Viewing documents
To view your documents, you can navigate to the documents page in the main menu via Forms & Documents > My Documents
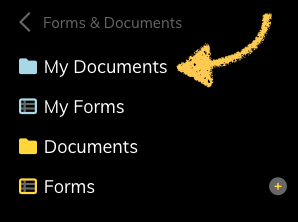
This page lists all the documents you are assigned to see. Note the buttons on the top right that let you change how you view them.
For Admins, Managers and Coordinators, there is also a "Add document" button for ease-of-use.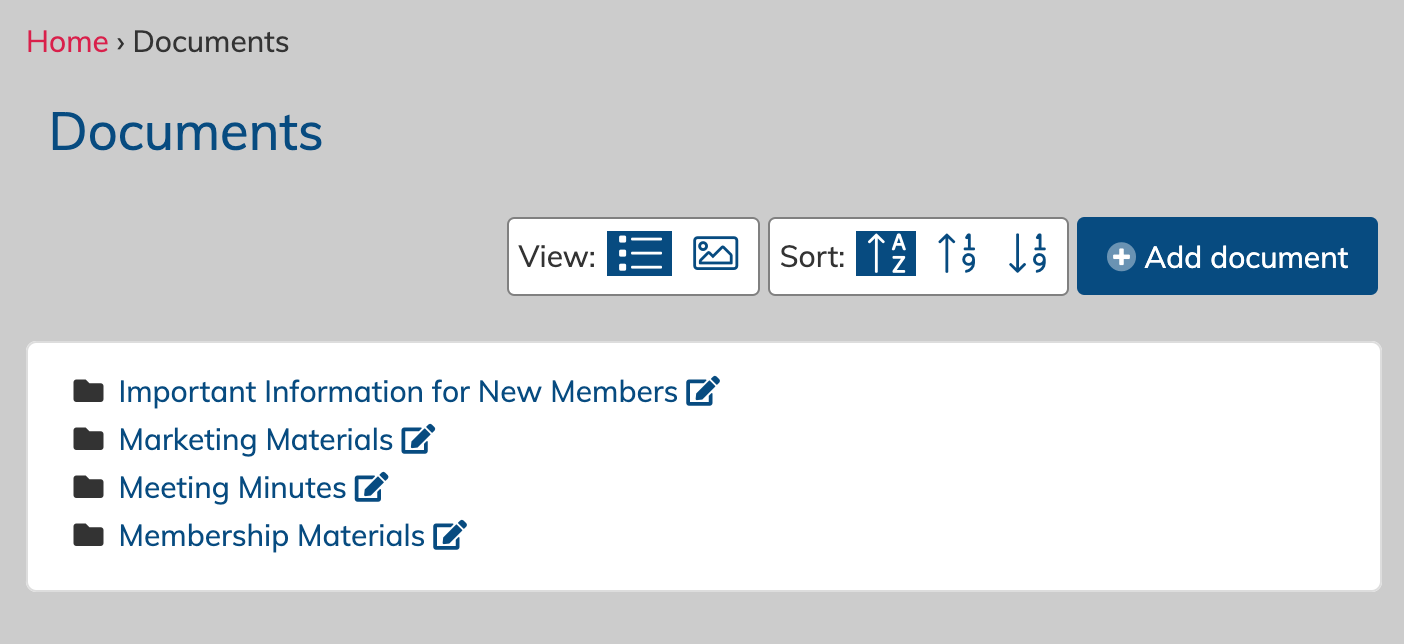
To view a specific document, simply click on the title. The ones in the example above are all folders, so they will have more options inside to click through.
As an Admin or Manager you will also see the edit pencil icon, which can be clicked to edit an item.
Parents can view documents assigned to their child by clicking on their child's name above the table.