- What are email styles
- Available default styles
- Editing styles
- HTML help
- Embedding an image in the footer
- image sizes when using HTML
- Reverting styles
- Copying styles
- add a style
- Using styles
- site-side default
- mailing list settings - Demo Video
NOTE: This feature was previously called "Email Templates" but this name has now been changed to "Email Styles" to reflect that these config options cover email branding, but do not affect layout or content.
This change is effective starting July 23 2026
What Are Email Styles?
Email styles are pre-designed layouts that format emails sent by or through the site. These styles include areas for headers and footers, allowing you to include additional information, images, and links. Styles ensure a consistent and professional appearance for all email communications. There are two main levels where templates can be applied:
-
Site-wide Default: Controlled under "Email Styles" section in the Admin Tools and Settings area. This setting is only accessible to administrators.
-
Per Mailing List: Configured on the settings page for each mailing list. These settings can be managed by administrators or managers.
To learn how to edit these settings, jump to this section.
Your sites will use the "Choir Genius" style as the default at all times, which will include your site logo in the top right corner, and a small choir genius text footer.
Style customization is only available at the Executive level.
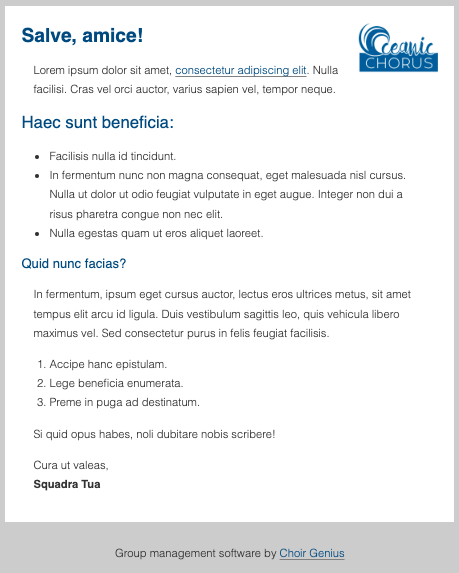
This is the basic email style called "Choir Genius" - it is the default one used for Conductor and Team sites. It will use your site colours for headers, and your site logo if uploaded.
Styles are only used when you write an email from within your CG site. You send to a list from your personal email client, the email style will not be included.
Available Default Styles
These styles are designed to be easy to use without any css knowledge - but some of the more advanced ones still offer some custom html options for those who know how to use it.
There are four types of email styles available:
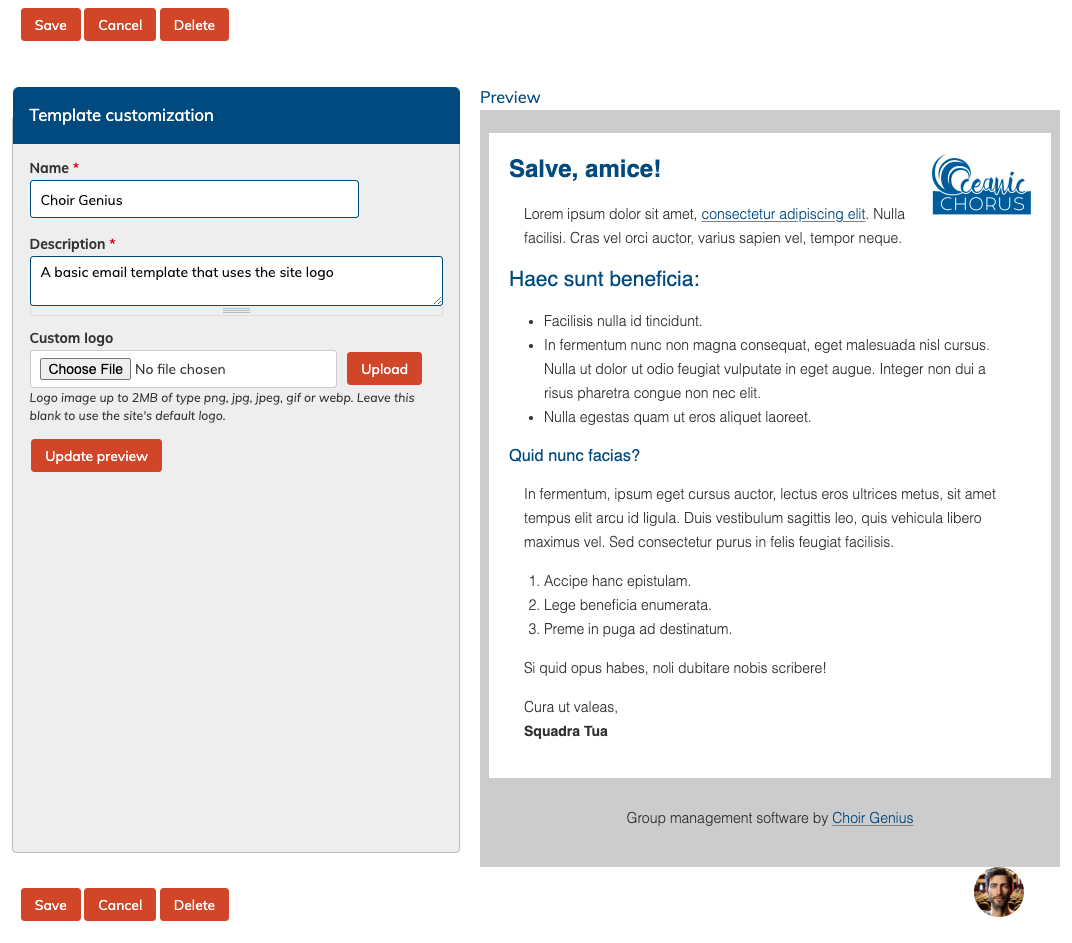
1. Choir Genius
-
Description: The standard default style used across the site.
-
Features:
-
Incorporates your site’s logo in the header on the right. But, you can also upload a custom one.
-
Includes a small "Choir Genius" footer message.
-
Header text automatically adopts your site’s colours.
-
-
Access: This is the only style available for Conductor and Team-level subscriptions.
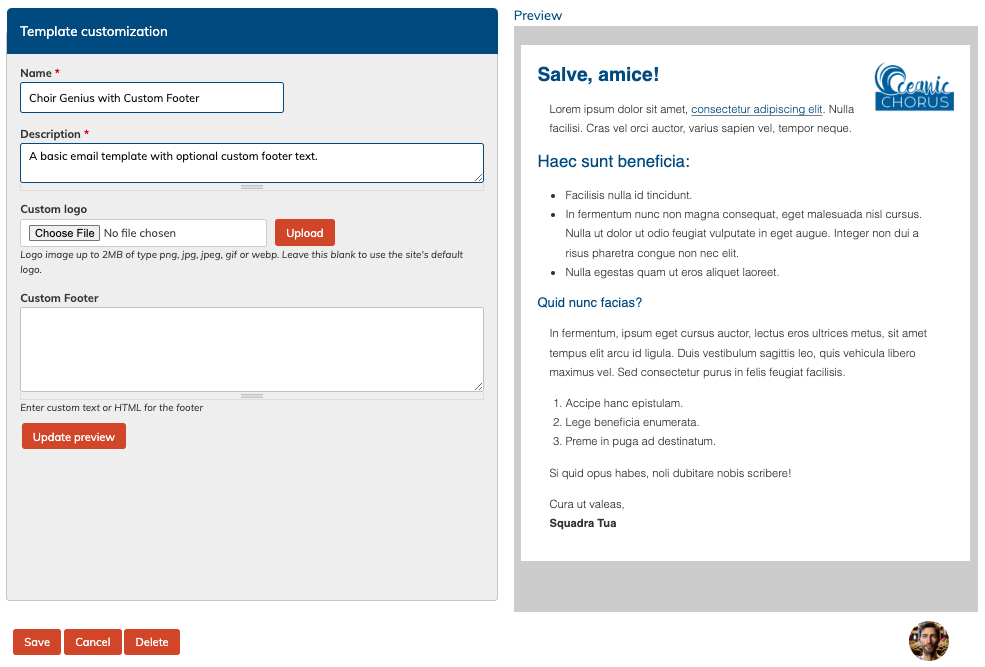
2. Choir Genius with Custom Footer
-
Description: Similar to the standard "Choir Genius" style but allows for a customizable HTML footer.
-
Features:
-
Site’s logo in the header on the right. You can also upload a custom one for the style, if you want a different logo to be used.
-
Footer accepts custom text and basic HTML. This can be useful if you want to add contact information.
-
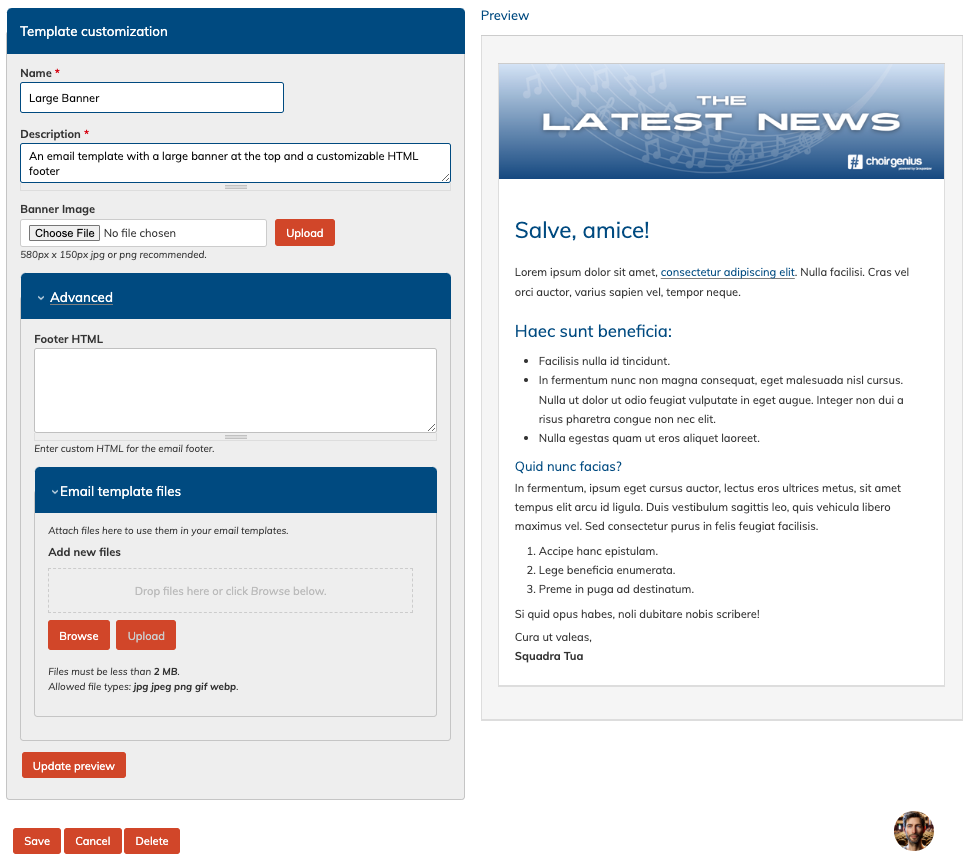
3. Large Banner
-
Description: A style designed for newsletter-style emails.
-
Features:
-
Custom banner image (580px x 150px recommended; formats: JPG, PNG).
-
Customizable footer that supports HTML and embedded images.
-
Special upload area for publicly accessible image files to include in the footer. This is useful for sponsor logos, or social media follow links.
-
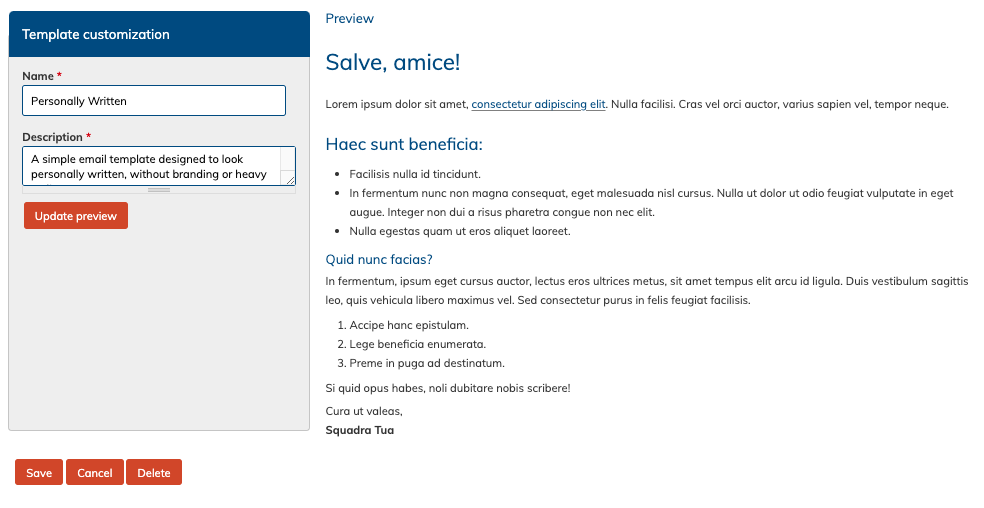
4. Personally Written
-
Description: A minimalistic style with no header or footer.
-
Features:
-
Provides basic formatting for a clean email appearance.
-
5. Top Logo Dark
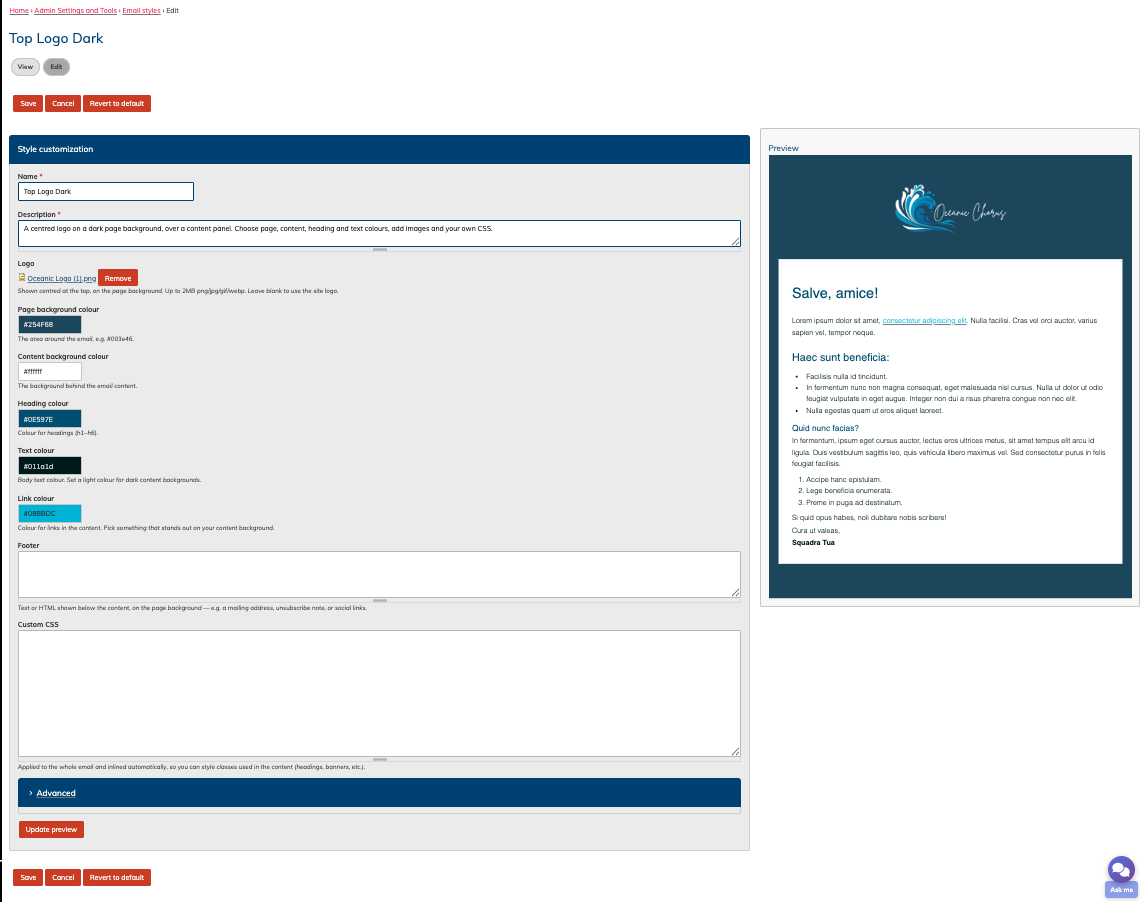
- Description: A centred logo on a dark page background, over a content panel. Choose page, content, heading and text colours, add images and your own CSS.
- Features: Colour selectors for the backgrounds, headings, and links, and a basic body text area with a centered logo area above.
The Top Logo Dark style will be available after the latest update on July 23rd 2026
Editing Styles
-
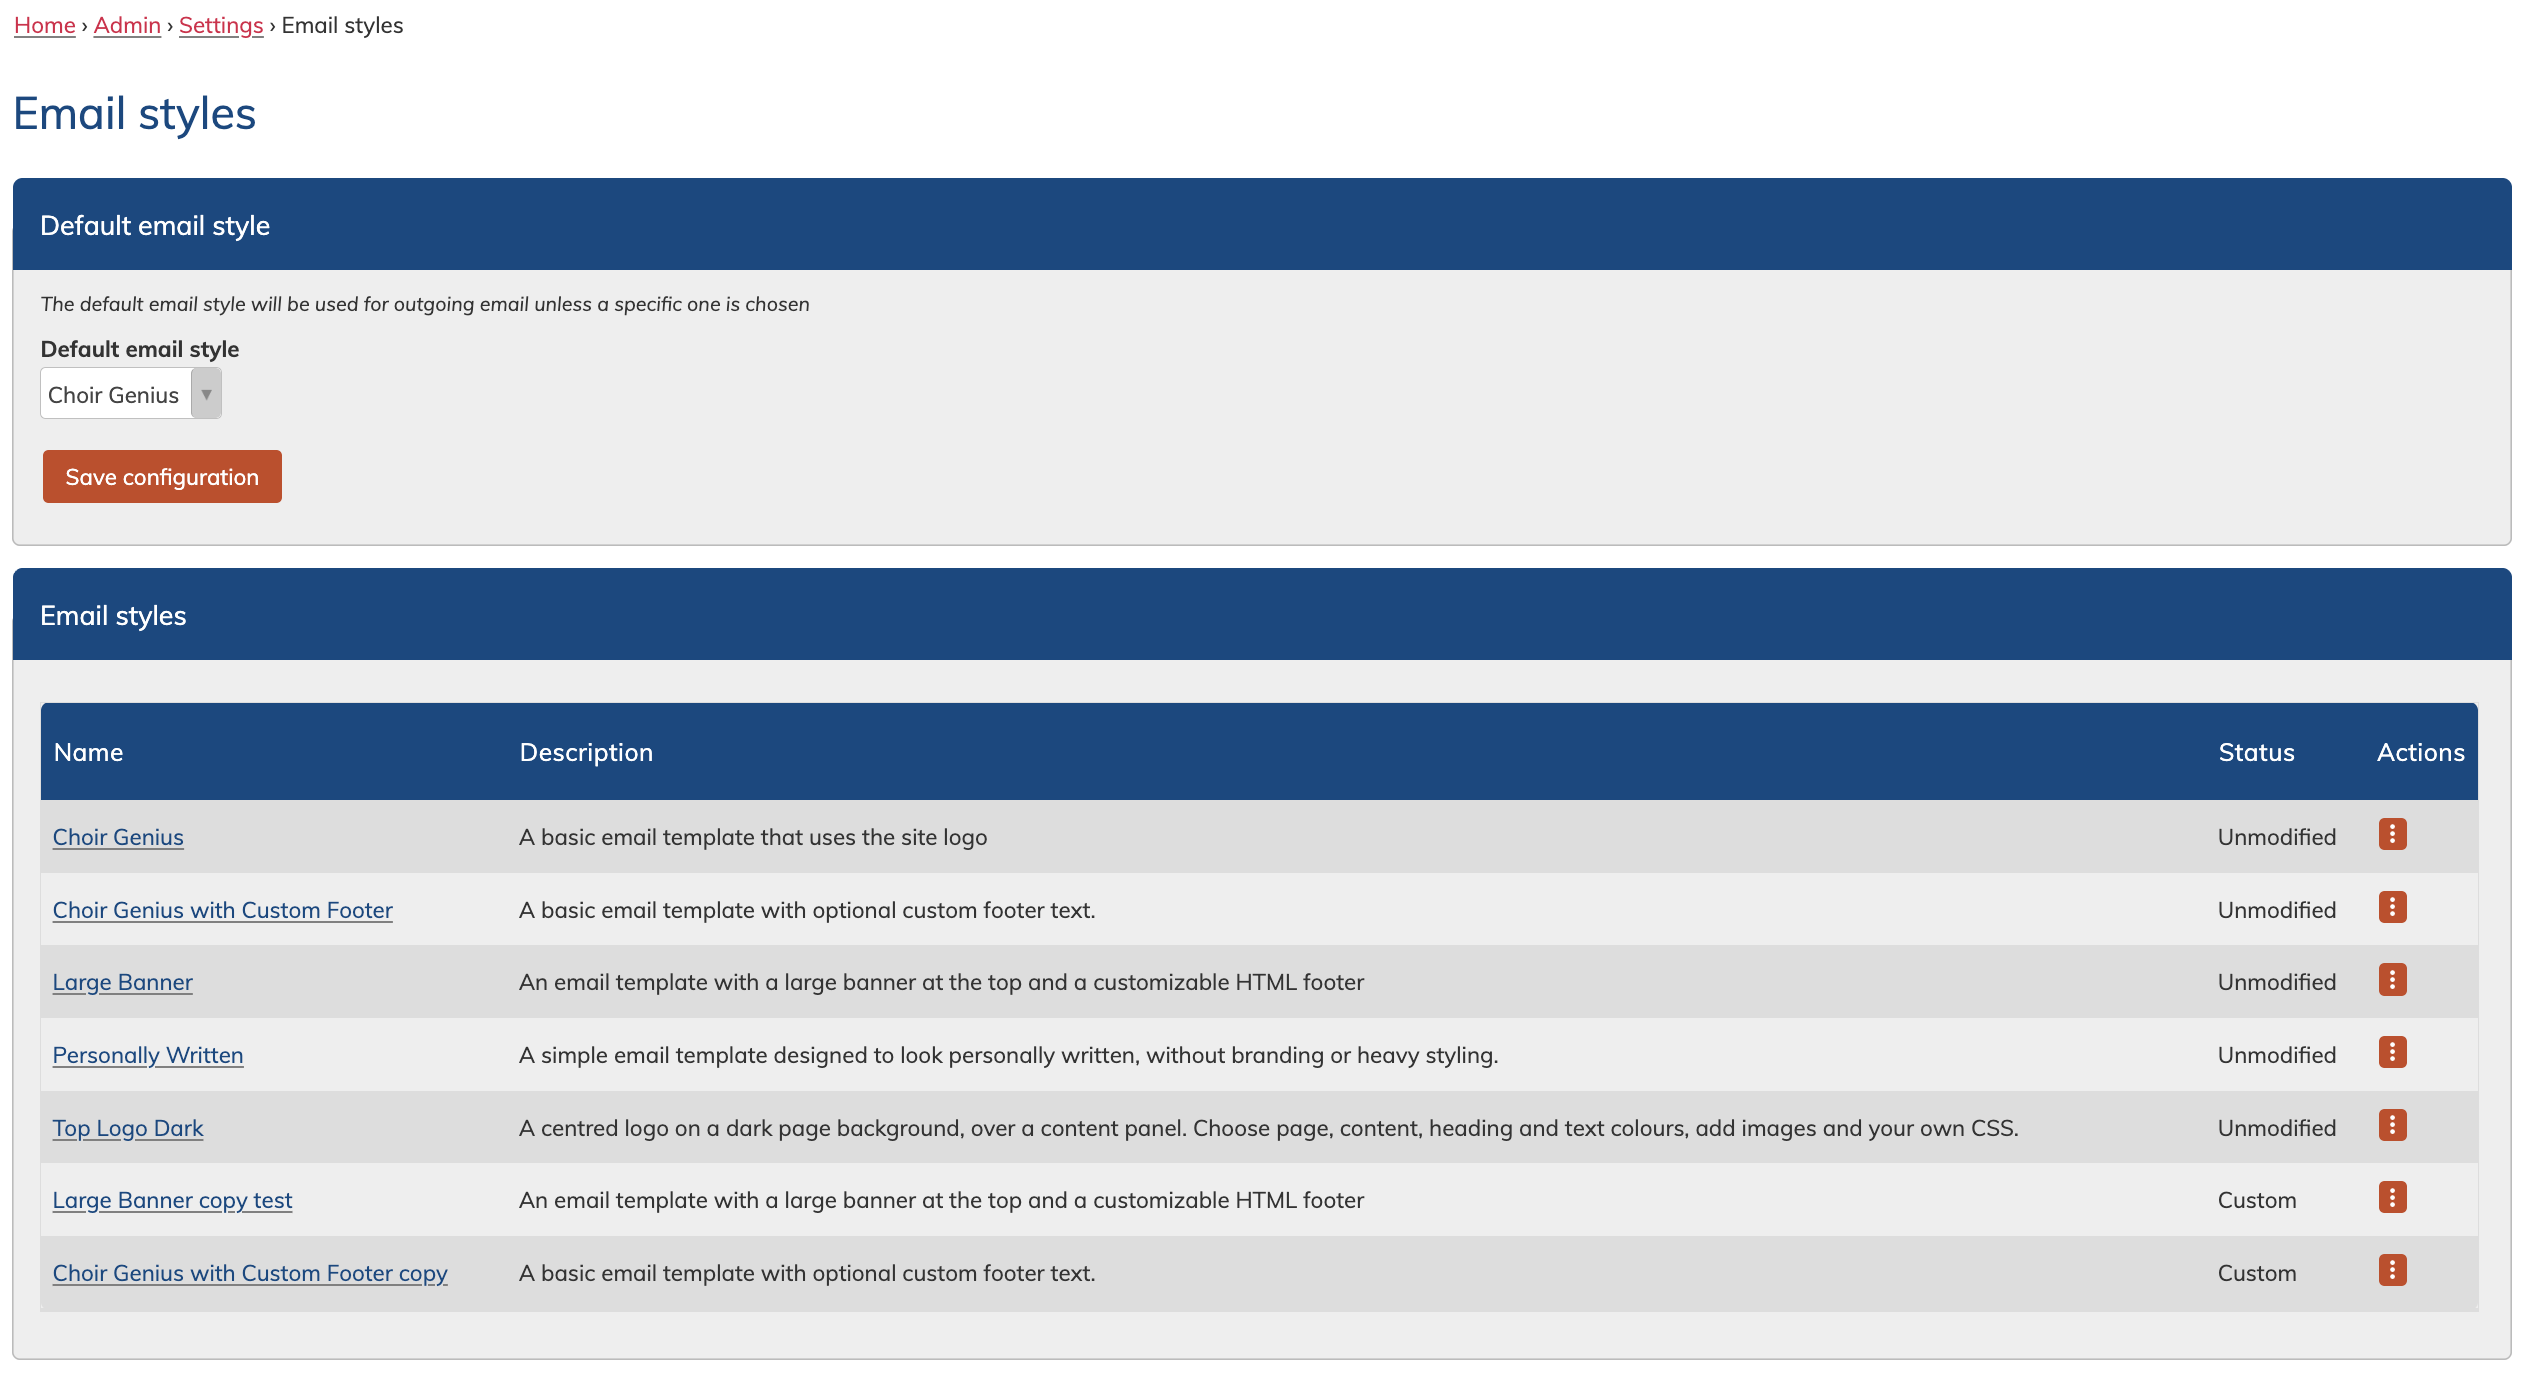
Navigate to Admin Tools and Settings > Email Styles.
-
Select a style and click the action button (orange, three vertical dots, to the right of the item).
-
Modify the content as needed:
- Default (unmodified) styles can only have certain parts customized, and cannot be deleted.
- Custom styles can be deleted directly from the edit screen.
- Upload images using the available field. Use the insert button to insert it into the footer area where available. - Use the Update preview button to preview your changes.
-
Save your changes.
-
Examples of HTML formatting:
-
Links: <a href="http://example.com">Visit our site</a>
-
Line breaks: <br>
-
Bold: <b>Bold text</b>
-
Italics: <i>Italic text</i>
-
Underline: <u>Underlined text</u>
-
Example of embedding an image as a clickable link:
<a href="http://socialmedia.com">
  <img src="http://example.com/image.jpg" alt="Social Media">
</a>
-
The "Large banner" style will allow you to upload your own images as well as html to the footer area.
- First, expand the "Advanced" header on the edit view of the style
- Then use the field to upload your images. You can drag and drop them into the upload area, or select one or multiples using the file option. You can only use images saved to your device (you cannot copy paste from elsewhere).
- Place your cursor in the footer html are where you want to place your image.
- Click the insert button for that image
- This will place the html code for that image into the footer area. Click the update preview button on the left to update the preview to see what it looks like. You may need to adjust the sizing. This can be done in the html area, where it lists width and height. (more detail below in the blue section)
- Save your style.
How to Change the Size of an Embedded Image in HTML
When you embed an image in HTML, you use the <img> tag. To change the size of the image, you can add the width and height attributes to the <img> tag. These attributes let you control the dimensions of the image.
For example:
<img src="example.jpg" width="300" height="200">
In this example, the image will be displayed at 300 pixels wide and 200 pixels tall.
How to Make the Image Resize Based on Screen Size
To make an image adjust its size automatically based on the screen size, you can use percentages for the width. When you use a percentage, the image’s size will adjust relative to its parent container (the box it’s inside).
For example:
<img src="example.jpg" style="width: 50%;">
Here’s what’s happening:
- The style attribute is used to apply CSS (style rules) directly to the image.
- width: 50%; means the image will take up 50% of the width of its parent container, whether that's the whole screen or another element.
The height will automatically adjust to keep the image’s proportions correct. If you also want to ensure that the image fits nicely in smaller containers, you can add this CSS:
<img src="example.jpg" style="width: 100%; max-width: 600px;">
- width: 100%; makes the image fill the entire width of its parent container.
- max-width: 600px; ensures the image won’t grow larger than 600 pixels, even on bigger screens.
This is especially useful for creating responsive designs that look good on all devices, from phones to large monitors!
Reverting Styles
-
Default styles allow you to revert to their original design if any customizations have been made.
-
To revert:
- Go to the style’s edit page.
- Click the Revert button.
This will permanently remove any customizations to that style. They will say "unmodified".
Copying Styles
-
Create a copy of an existing style to serve as a starting point for a new one.
-
To copy:
- Click the three dots button (in the action column) next to the style you want to duplicate
- select the Copy option
- Edit the copied style's name and content.
- Update the description with notes about its intended use.
- Save your changes.
You can make as many copies as you wish.
Using Styles
There are two main levels where styles can be applied:
Site-wide Default
-
Access Email Styles in the Admin Tools and Settings area.
-
Select a style as the default for the entire site.
This template will be used for all site notifications, as the default setting for mailing lists unless otherwise changed, as well as Bulletins that are sent as an email.
Mailing List Settings
-
Navigate to the settings page for a specific mailing list.
Communication > Manage mailing lists > edit -
Choose a style from the available options at the bottom of the page.
-
Save your settings.
The choses template will now be used for all emails sent through that mailing list via the site.
By following this guide, you can effectively create, edit, and manage email templates to suit your organization’s needs.
Demo Video (old, not updated with the new term "email style")
