This new feature will be released July 23rd 2026
Email templates allow you to create reusable emails that are automatically sent after someone completes registration.
You can use tokens to personalize each email with information collected during registration, such as the registrant’s name, form responses, or store order details.
Before you begin
Email templates can only be sent as part of the registration process.
After creating a template, you must add it to a registration track under the Emails on completion step. You can configure multiple emails to be sent when someone completes registration.
For instructions on creating and configuring registration tracks, see [Registration].
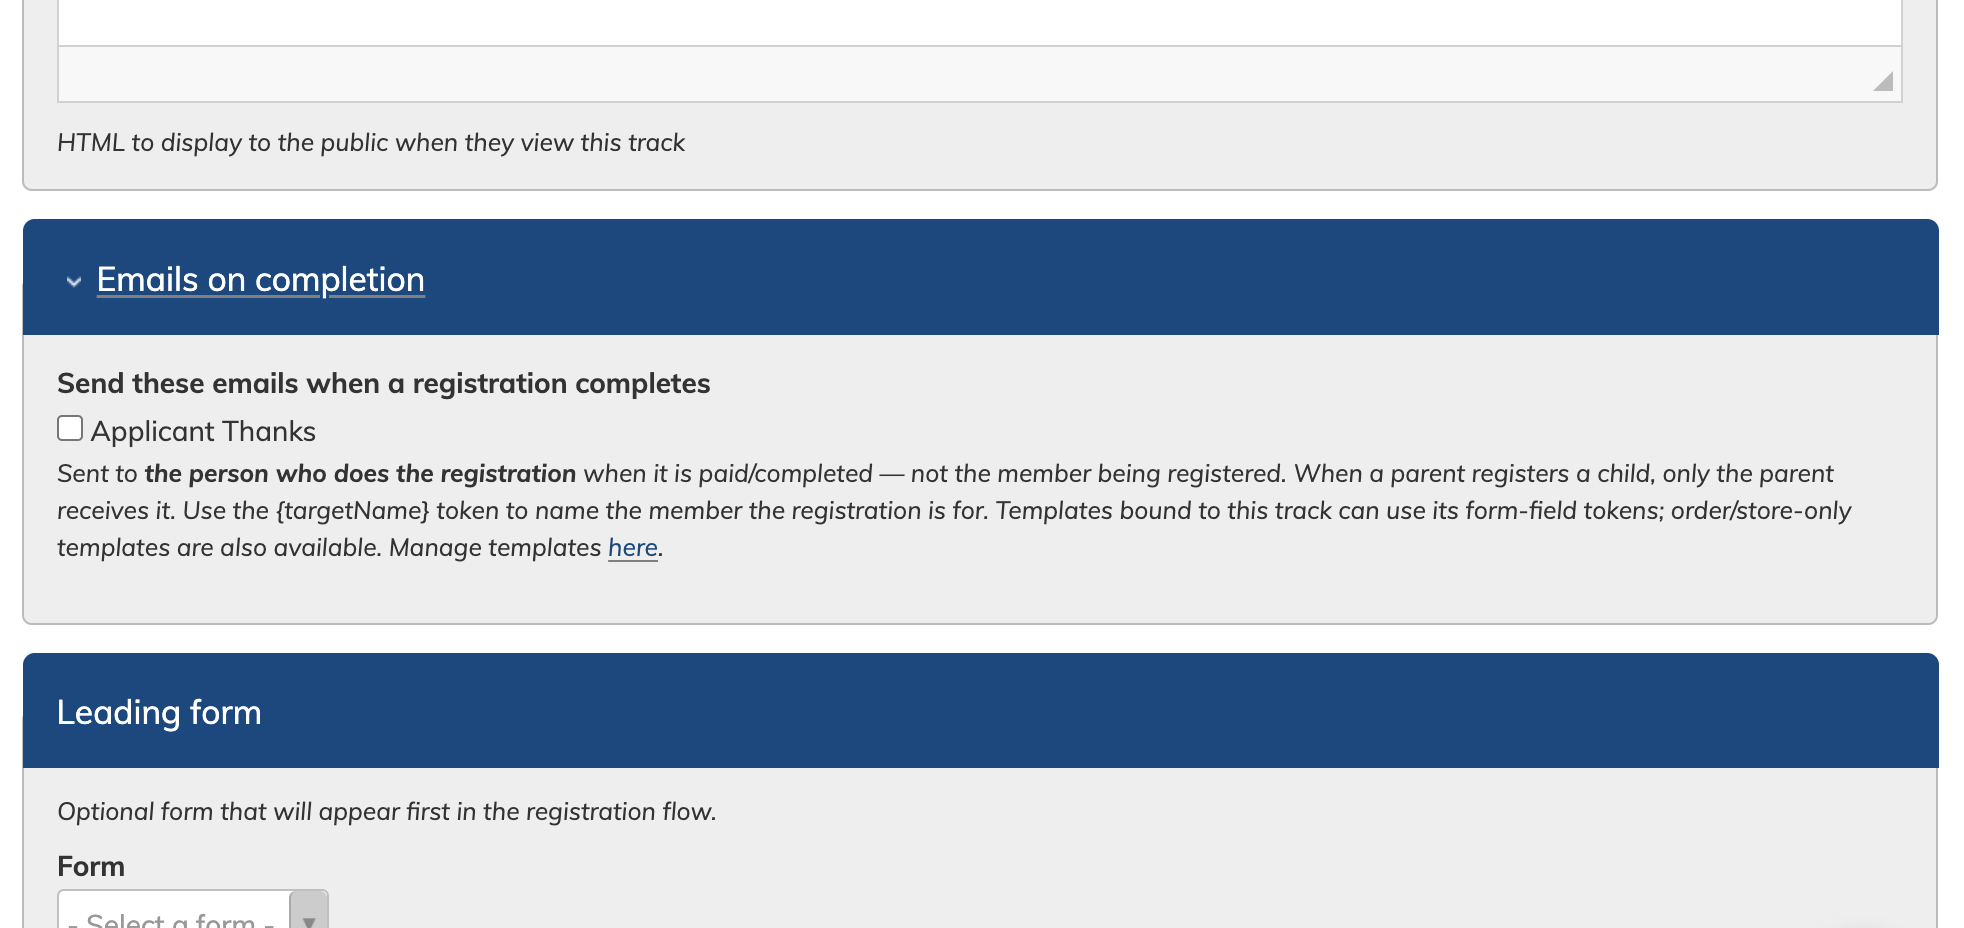
Emails are ent to the person who does the registration when it is paid/completed — not the member being registered. When a parent registers a child, only the parent receives it.
Use the {targetName} token to name the member the registration is for. Templates bound to this track can use its form-field tokens "order/store-only". Using tokens is discussed in detail below.
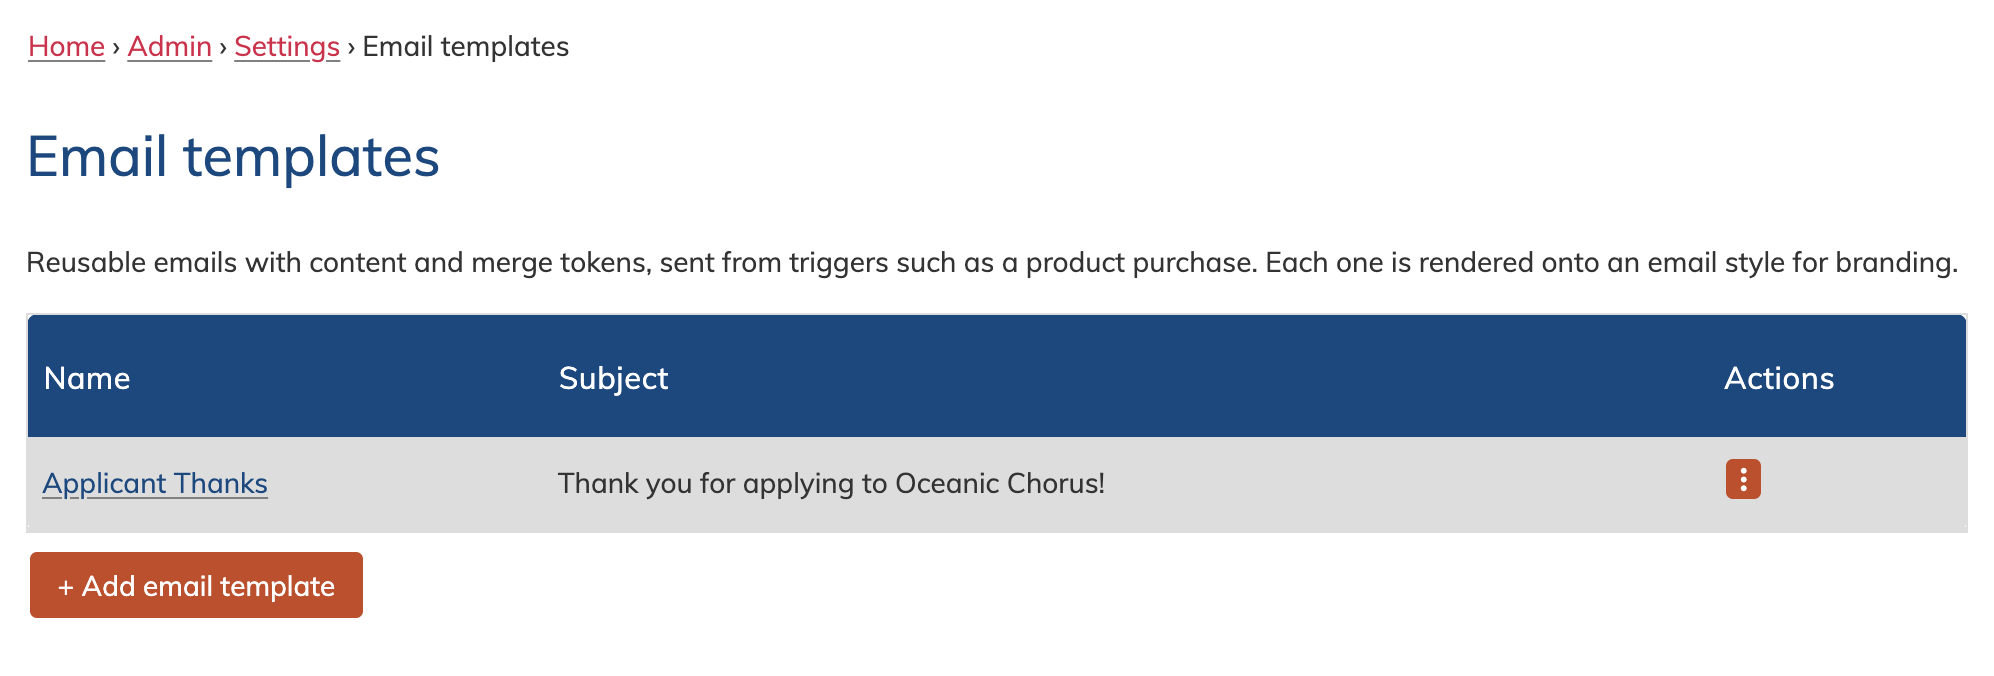
View your email templates
Go to People > Email templates.
The Email Templates page displays all available templates.
Use the Action button beside a template to:
-
Edit the template
-
Delete the template
To create a new template, select Add a new email template at the bottom of the page.
Create an email template
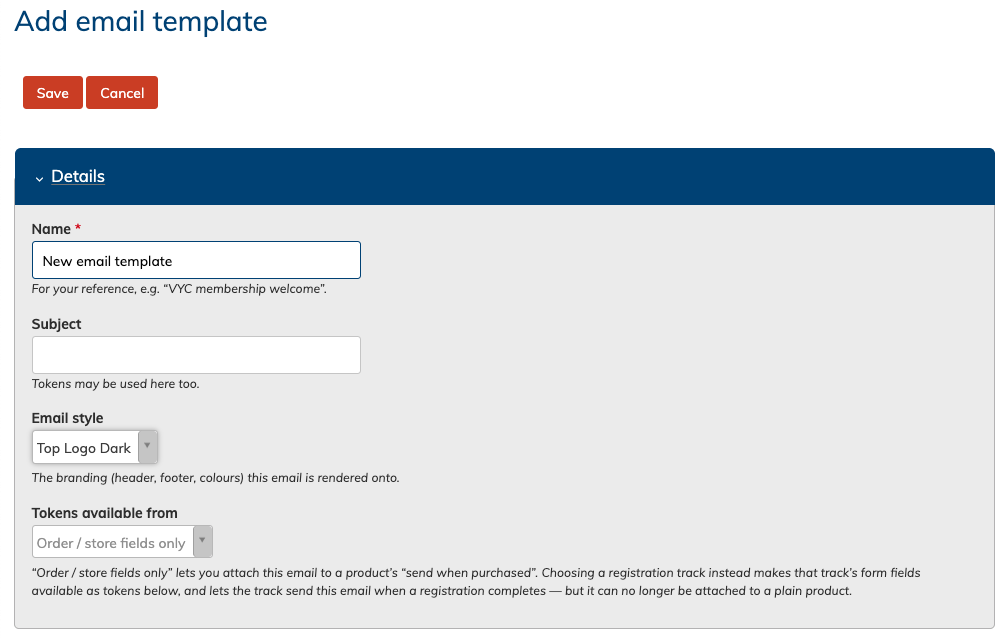
1. Enter a name
Enter a name that will help you identify the template later.
This name is only used internally. People receiving the email will not see it.
2. Enter the subject
Enter the subject line that recipients will see when they receive the email.
3. Select an email style
Choose an email style to control the formatting and appearance of the email.
The selected style will appear in the content preview farther down the page.
For more information about creating and managing styles, see [Email Styles].
4. Select the available token sources
Use the token selection options to choose where information can be pulled from.
Depending on the registration process, tokens may contain information from:
-
A store order
-
A form completed before registration
-
A form completed as part of registration
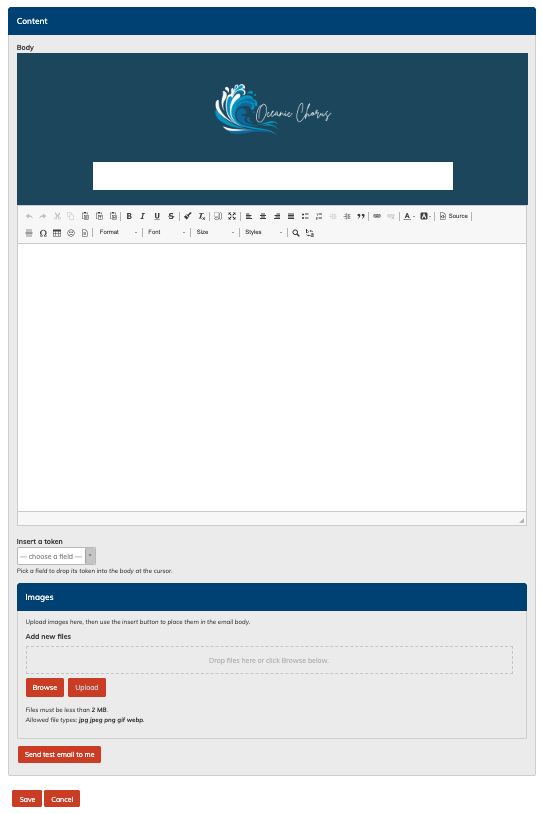
You do not need to know how to write tokens manually. The Insert a token field allows you to select the information you want and inserts the correct token for you.
5. Write the email
Enter your email content in the body text field.
To insert personalized information:
-
Place your cursor in the body text where you want the information to appear.
-
Scroll to the Insert a token field.
-
Select the information you want to insert, such as the buyer’s name.
-
The corresponding token will be inserted into the body text field.
To remove a token, delete it from the body text as you would any other text.
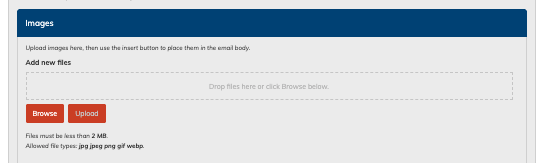
Add images
You can upload and insert images into the email using the image upload field below the body text editor.
After uploading an image, insert it into the appropriate location in your email.
Send a test email
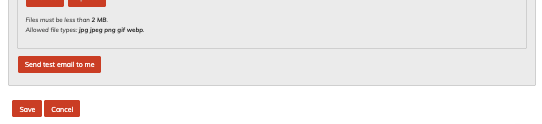
Before saving the template, you can send yourself a test email to review its appearance and formatting.
Tokens will not automatically fill with registration information in a test email. The completed email sent during registration will use the available information to replace the tokens.
Save the template
When you have finished creating and testing the email, select Save.
The template can then be added to the Emails on completion step of a registration track.
