Your site is equipped with a variety of standardized notifications to helps keep everyone informed. The following article will detail where to find those notifications, how to configure them, and even how to disable the ones you don't need.
- Review the overall settings
- Customize the Login Invitation & the Password Reset emails
- Manually send a login invite or password reset
- Checking your individual notifications
- Individual notification settings
Review the Overall Site Notification Settings
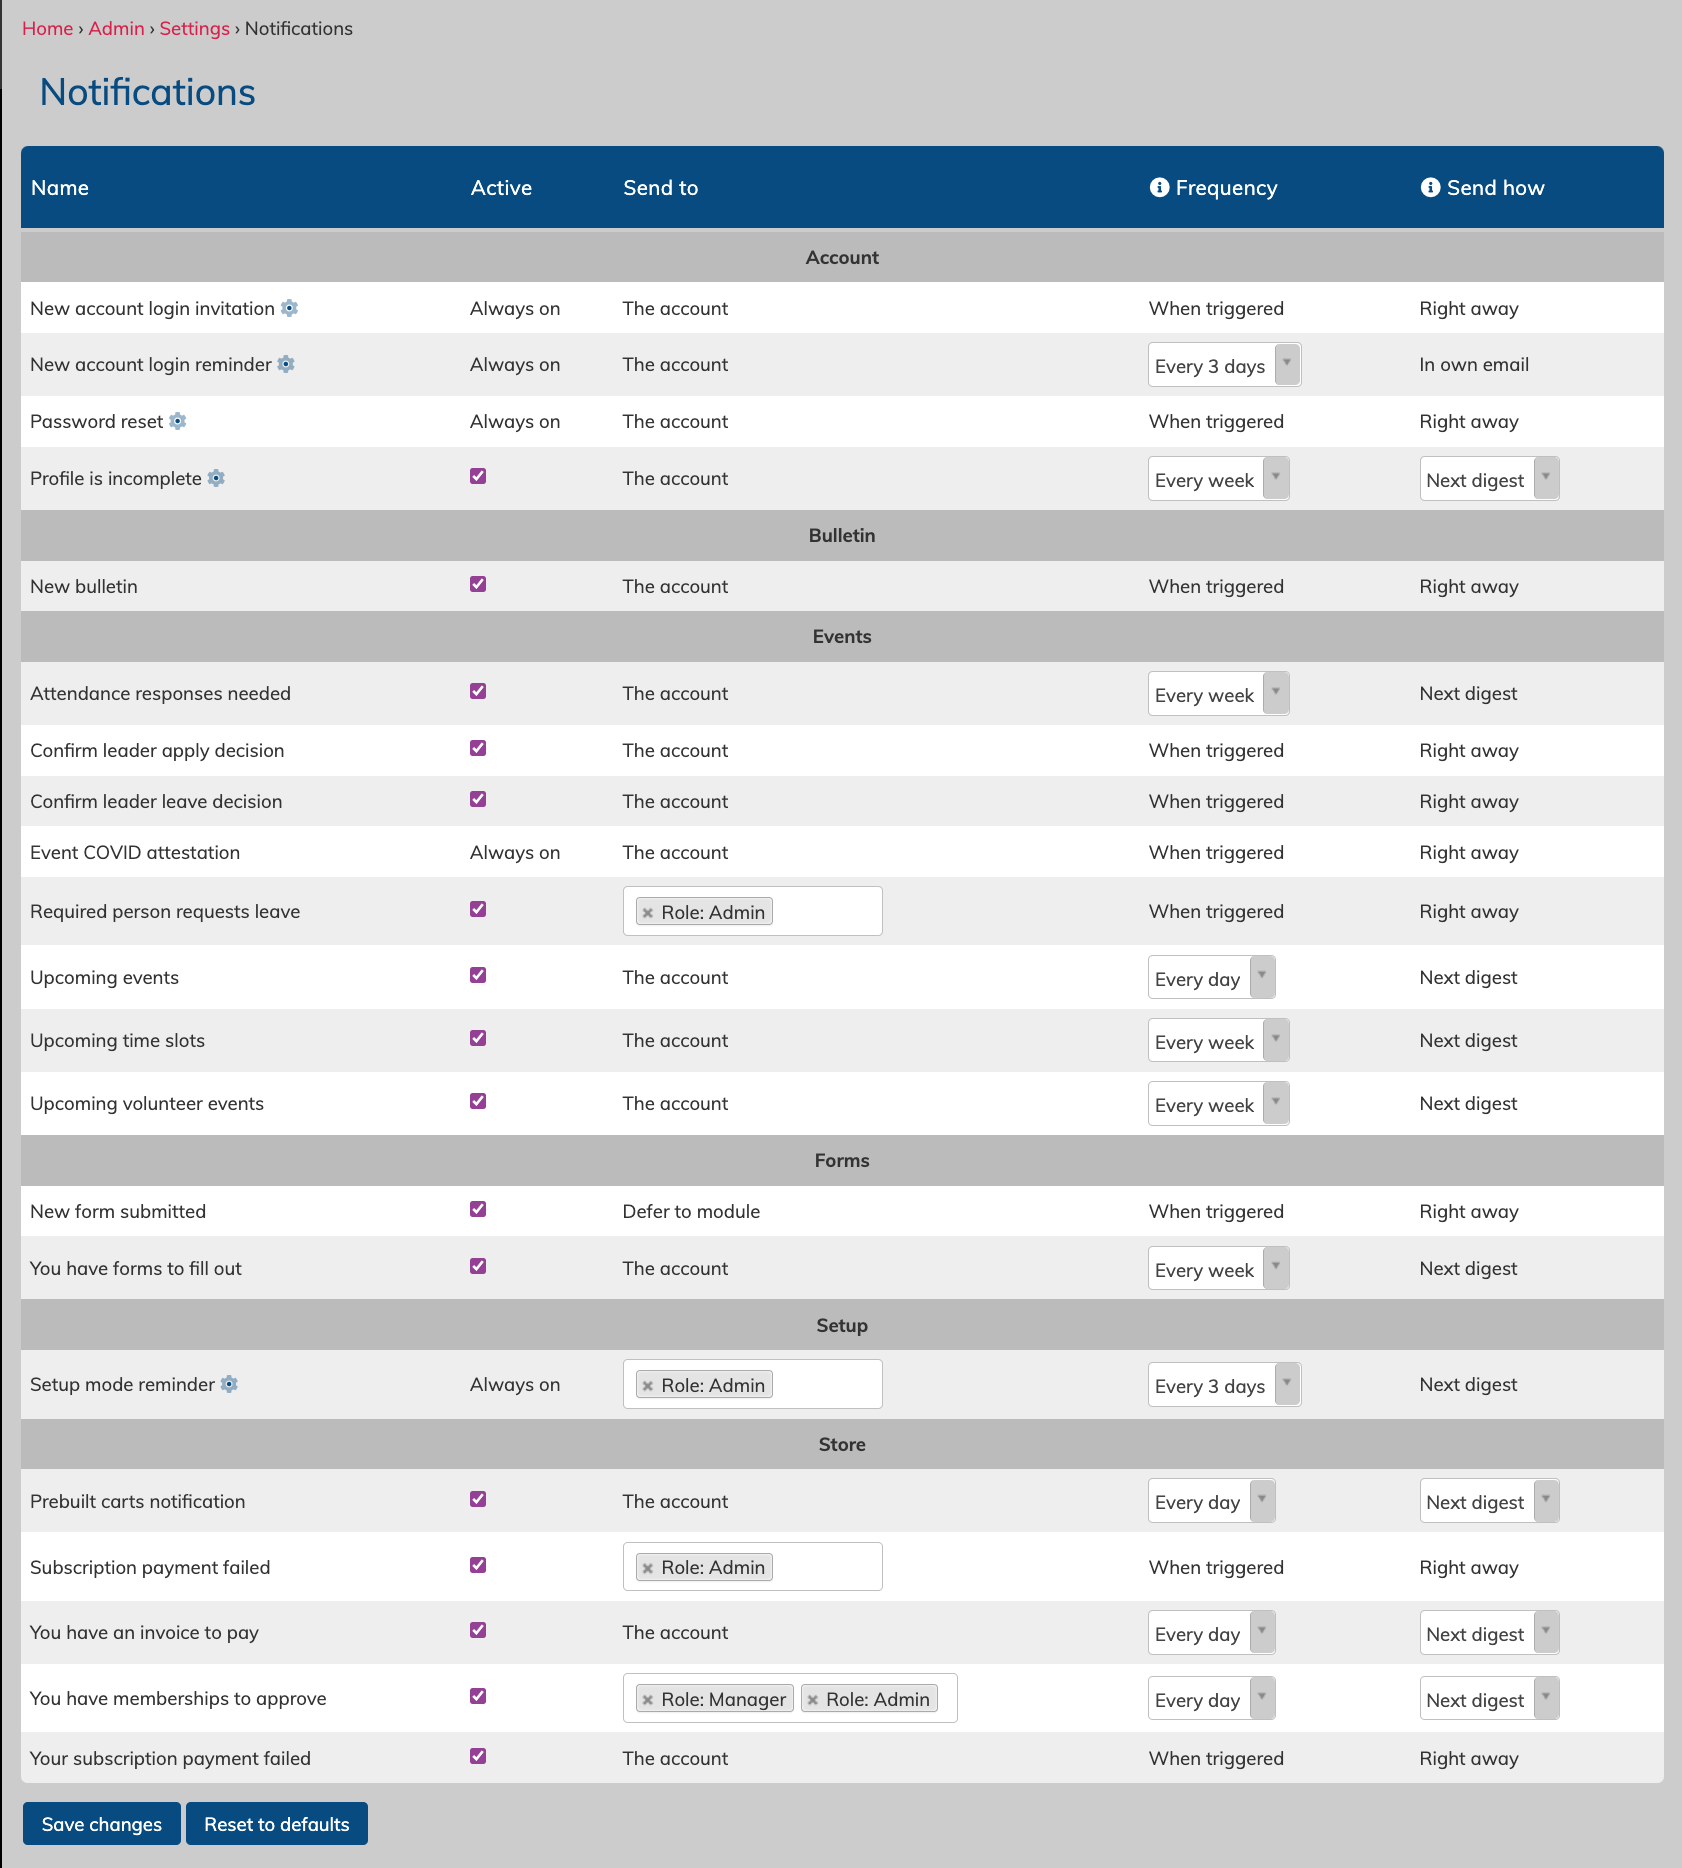
To view the notifications, navigate to the Admin Settings & Tools area, and then click "Notifications".
This will bring you to the notifications settings table.

This table indicates the specific notifications, if it's enabled or disabled, who it will send to, and how often and when it sends.
Some notifications have a small blue gear wheel next to their name - you can click this to go to the relevant settings page for that item.
Example: A no-role account will never receive a login invitation - these are only send to users with role. This is to allow the storing of contacts for mailing lists without them receiving site notifications or having to login.
- Enable and disable notifications
You can disable the majority of these notifications by unchecking the enabled checkbox, and then saving the page. The few that cannot be disabled are essential to proper site functionality. - Change who receives certain notifications
Most notifications send to "the account", meaning the account of the user to whom the notification applies.
New Form submitted says "defer to module" meaning it will send notifications about forms submitted based on the settings for that individual form. This is because Forms can have a variety of user sets designated to receive notifications about submissions, and it can change for each form.
Some notifications have a field box where you can choose who receives particular notifications. - Change the notification timing
Some notifications are unchangeable and are only sent "when triggered" - this means that they will send right away when that notification is created based on site actions. Usually, this means that a piece of content has been created and assigned to an account set, or a user has taken an action that triggers a notification (like requesting a password reset, or requesting a leave of absence). These items are considered very time sensitive, so they will always send right away.
Other notifications allow you to choose the frequency. Weekly is best for reminders about less pressing matters. Daily can be useful for items that might require more frequent reminders. - Change the notification method
There are two notification methods: next digest, or in own email.
"Next Digest" means that this notification will send with any other notifications that match the set timing in one email. This method is useful to avoid sending too many notification emails in one day - all notifications for that day will be compiled into one simple email, making it much easier for your users to know what's new within the site.
Notifications set to "In own email" will do just that - they will be sent in their own specific email as a single notification. Some people prefer this for certain types of notifications to help highlight them, but setting everything to this option could end up sending quite a few notifications every day.Note: There is in individual user option on their settings page to shut off emails for digest notifications. There is more about this below. - Save your settings, or reset them back to the default
Always remember to save your changes. If you make a bunch of changes but would like to change them back to the site default settings, you can click the "Reset to defaults" button.
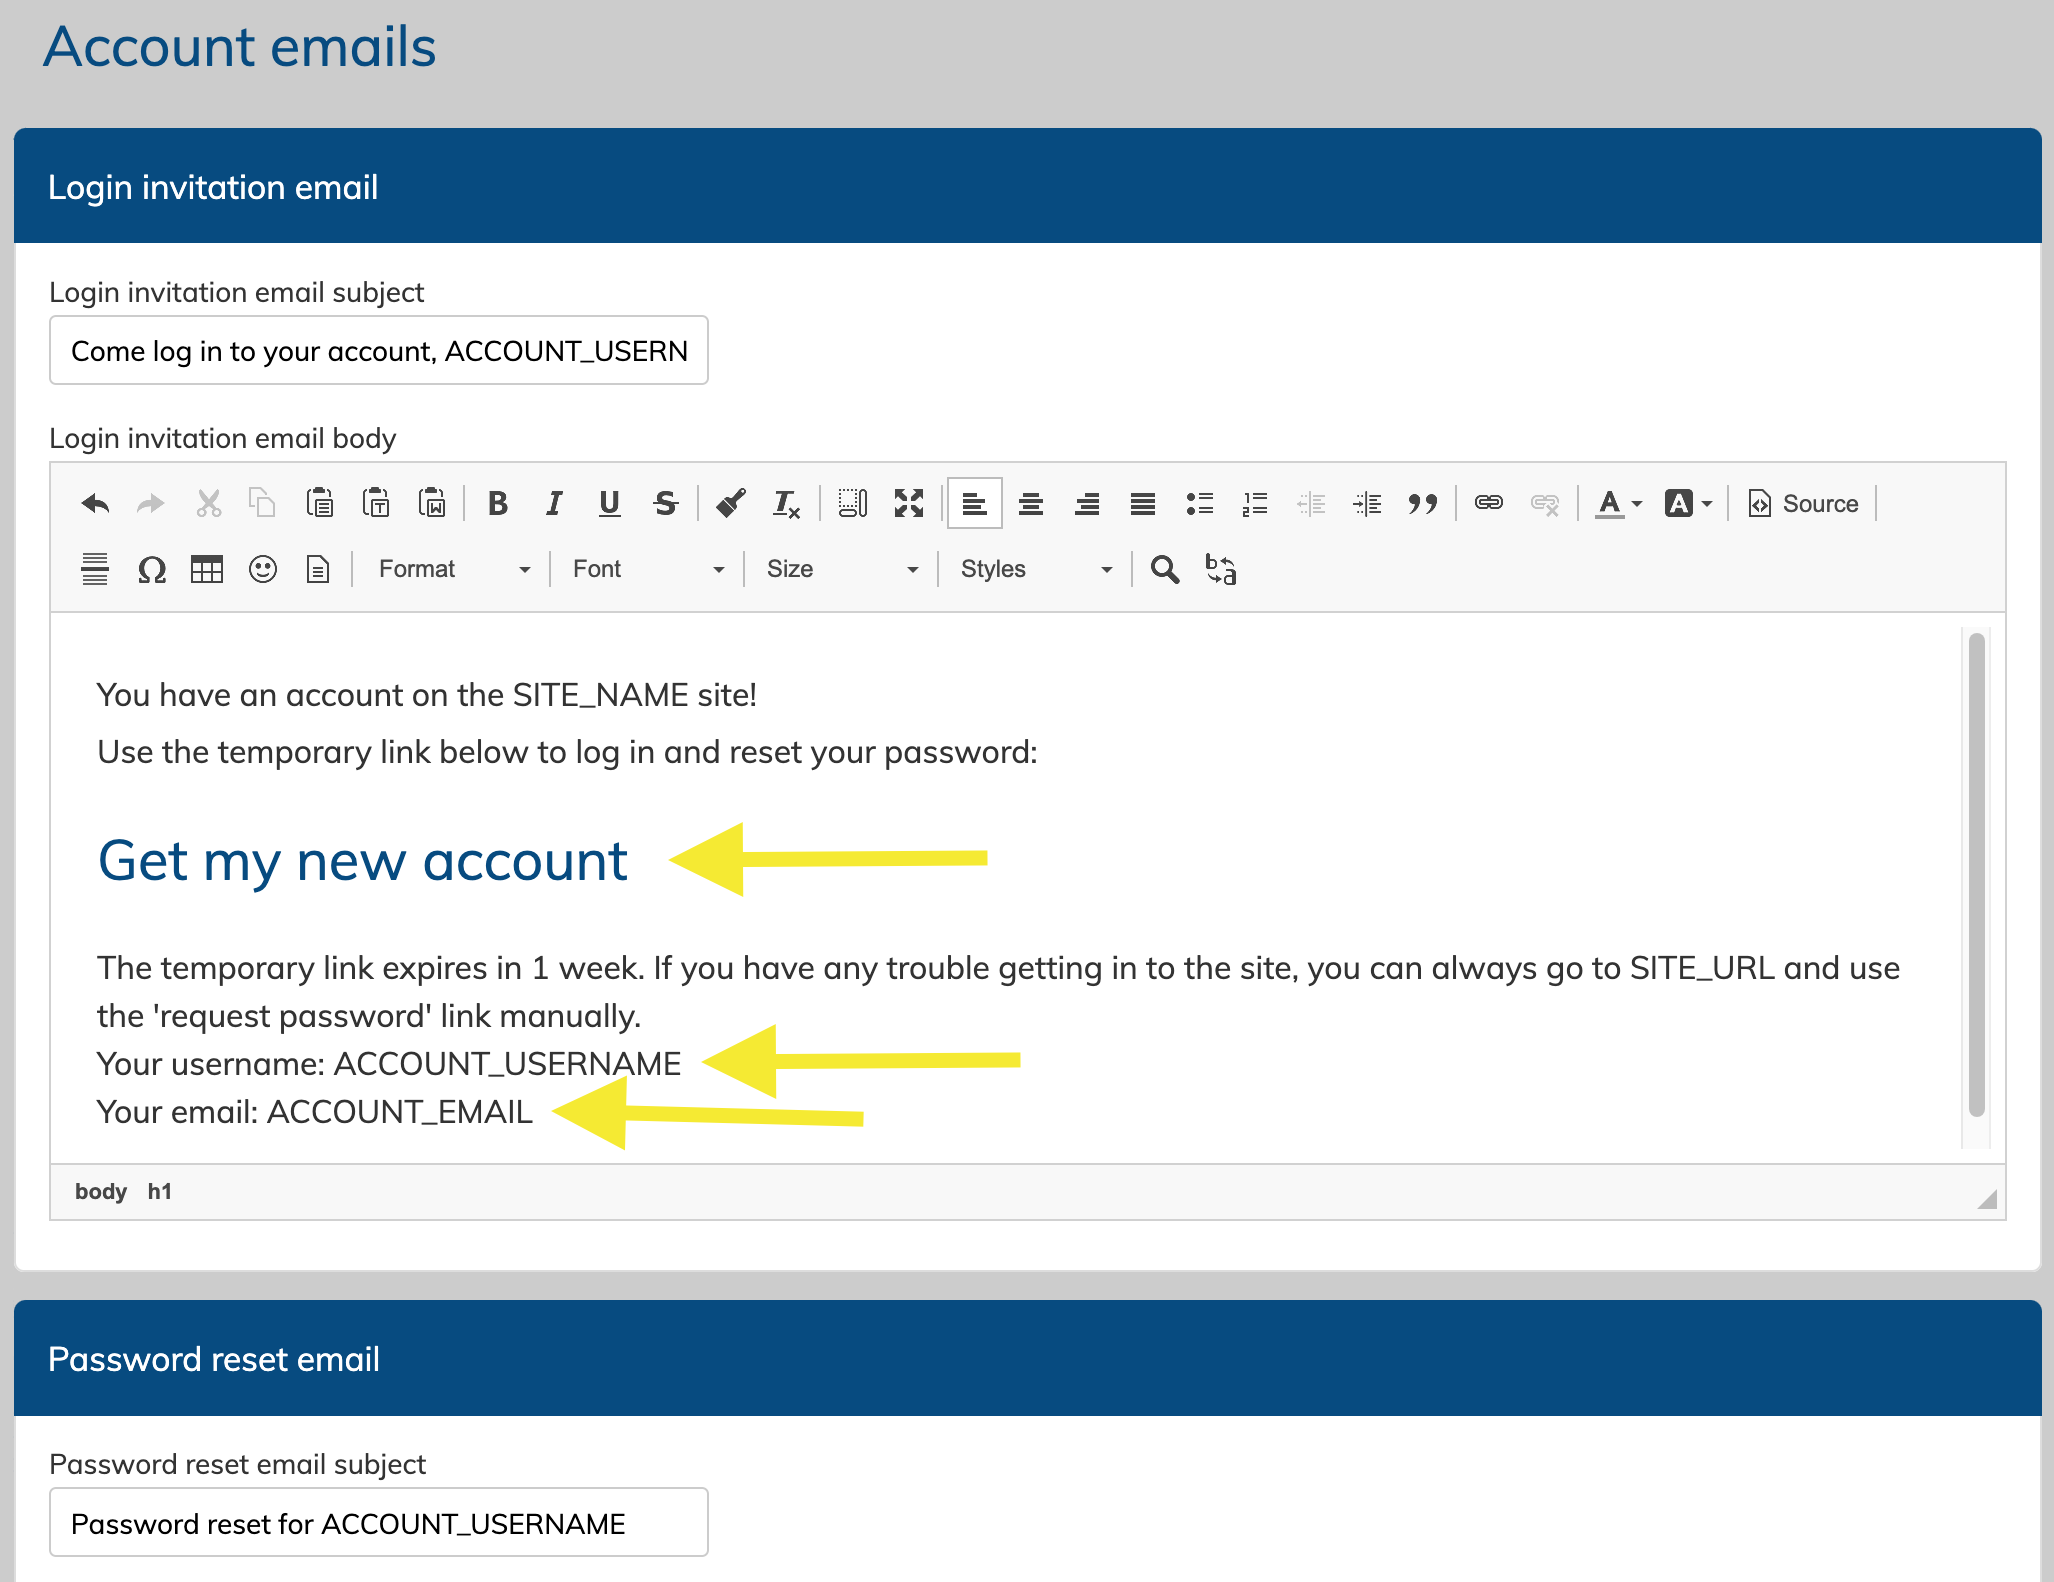
Customize the Login Invitation & the Password Reset emails
Both the login invitation email and the password reset emails can be edited with custom text. This can be done on the "Account Emails" page in the Admin settings & Tools area.

Manually send a login invite or password reset
Admins and Managers can send a login invite or password reset email via the "Manage Accounts" page, on the "Engagements" tab.
For an active site, there will be 4 possible messages in the Actions column.
- Send invite - this means the account has a role, but they have never logged in. You can invite them to login by clicking this button.
- Password reset - this account has a role and has logged in and set their password already. If they forget their password, you can click this button to send them the password reset email.
Any user can request a password reset email on the login screen.
- No email - This means the user does not have a primary email address attached to their account. This is a more common occurrence in children's choirs. You cannot send any emails to an account with no email address, but notifications for this account can be forwarded to a connected parents via the "email preference" setting on the account profile.
- Non-Member - this is a "no-role" account, and is generally a mailing list contact, or a member of the public that had to make an account to purchase something from the store. They do not receive login reminders. If they have logged in previously (perhaps to make a store purchase) and forget their password, they can request a new one on the login screen.
Checking your notifications
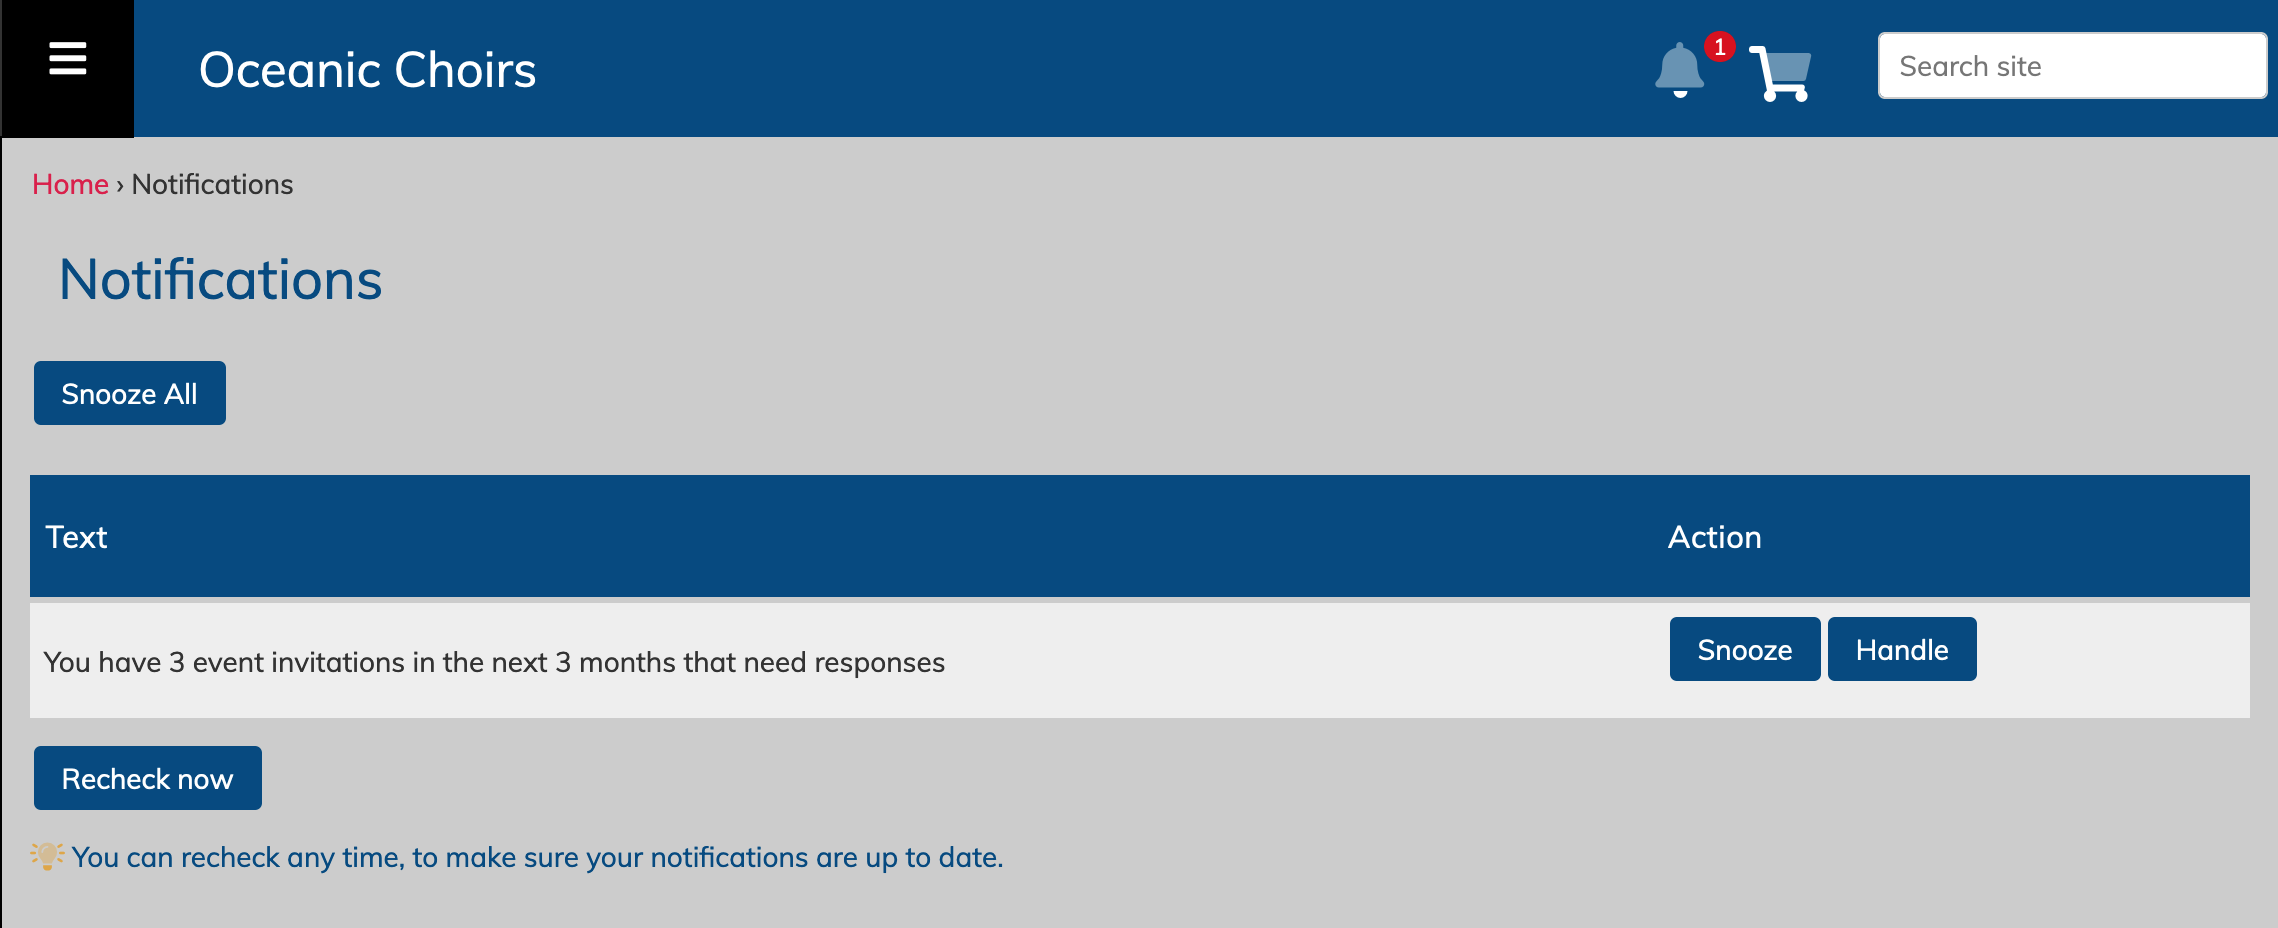
Notifications are sent by email to the primary account address, and they will also appear under the notification bell on the tip right of the screen when logged in to your site.

You can snooze the notification to ignore it for a bit (the system automatically checks for notifications every 2 hours), or, you can click "Handle" to go to the relevant page and perform the requested action.
You can also click the "Recheck now" button to check for new notifications, or to bring back snoozed items.
Individual account notification settings
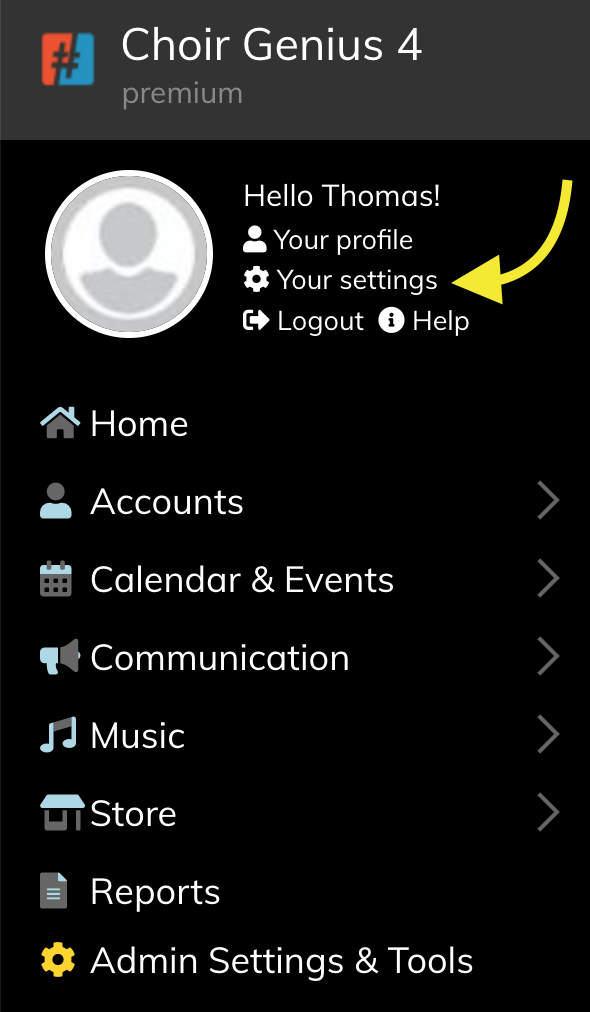
Users can also adjust their own notification settings to reduce the number of emails they receive. This is a great setting to mention to members who perhaps dislike too many emails Users can click on the "Your settings" menu item on the left, and then click Manage Notifications
This will bring up a checkbox that says:
"Send digest notifications in email"
If this setting is check-marked, users will receive all notifications sent to "in digest" via email as well as within the site under the notification bell.
If this setting is unchecked, users will only receive digest notifications within the site under the notification bell. They will still receive all "in own email" notifications via email.
This settings is check-marked by default.